Food, water, and shelter. These are among the most basic necessities of humans. People cook food even in the regions where there is no electricity. Therefore, an innovation in this sector would surely benefit the masses. The solar oven is one such environmentally friendly innovation. One can carry it anywhere from America to Africa if abundant sunlight is available it would never disappoint. Ovens operating on solar energy isn’t a new innovation. So, there are myriad types of such ovens available in the market. However, we would suggest you to not rely on them and to make your own as it is much more eco-friendly. Here are 6 best DIY solar ovens that you can choose from.
6 Best DIY solar ovens for green culinary
We are gifted with a lot of useful things by our nature. Solar power is one among them. Only we need to understand the value of such things and make use of them in the right way. Solar power is a powerful source of energy. However, we have not taken much advantage from this. You can make use of this power for a lot of things including our household functions. By using the solar power, we can avoid the usage of artificial energy sources. Moreover, solar power is a convenient option for all, as we get this plentifully without any investment. The tips shared here are related to the usage of solar power in culinary.
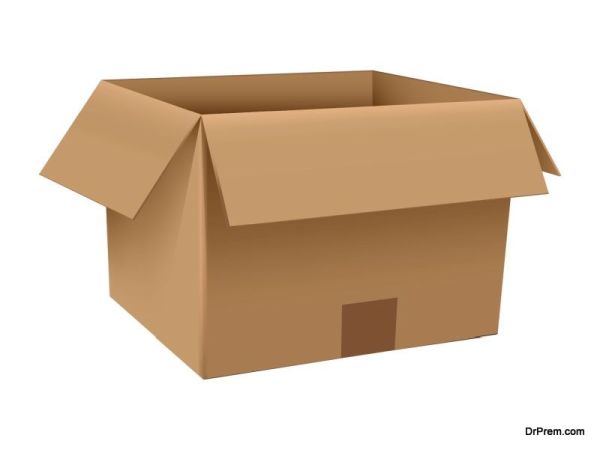
1. A trouble free method of converting an ordinary box into a solar oven
This method explains how you can create solar oven easily using a cardboard box. It is a harmless method and surely a part of going green.
a. Materials required:
A cardboard box, black paper, tin foil, plastic, black paper, non-toxic glue, pen, tape, knife, scissors and a stick.
b. Method of construction:
Draw a boarder around top side of your box, about one inch apart from edges. Leaving one edge, cut three sides. Now the door of your oven is ready.
Cut and paste square-shaped aluminum foil beneath the door of the oven. Cut the plastic and it should be little larger than the opening.
Take the black construction paper and cover the lined bottom of the box with the black paper.
Yes, you have done it! Now you need to open the door for the sunlight to peep inside, and wait until your yummy snacks to cook
2. Teens convert pizza boxes into solar-powered ovens
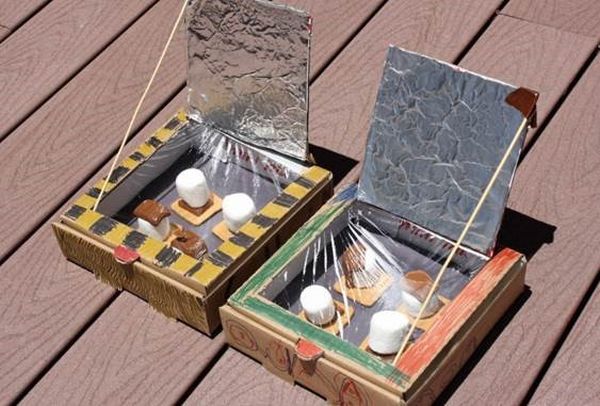
Image Source : ge-girls.com
It was really much-appreciated movement from the students from Brooklyn’s James Madison and Edward R Murrow High School. They organized a pizza party in order to spread the Eco- friendly messages. Their pizzas were not made in electric ovens, but in ordinary cardboard pizza boxes, which were lined completely with tin foil and black paper. Being a favorite food of teenagers and old, these hot and spicy ‘green’ pizzas stole the hearts of all those who attended the party. They claim that these pizza box ovens are capable of delivering 200º temperature in a hot day. Moreover, this easy way of cooking is safer and trouble free compared to artificial fuels and gases.
3. $5 solar oven wins $75,000 green innovation award

The Kyoto Box Oven, which was developed by Kenya-based, Jon Bohmer was crowned in the FT Climate Change Challenge test. This is a great victory which was gained after beating nearly 300 creations and the prize money was about $75,000.
The oven which costs only 5 dollars was made from two cardboard boxes and one box was placed inside the other. Between two boxes, straw or papers can be placed as insulation. The interior is covered with black paper, while the exterior has a silver cover. This helps the sun rays to concentrate into the food which can be placed inside.
4. DIY Windshield Shade Solar Oven
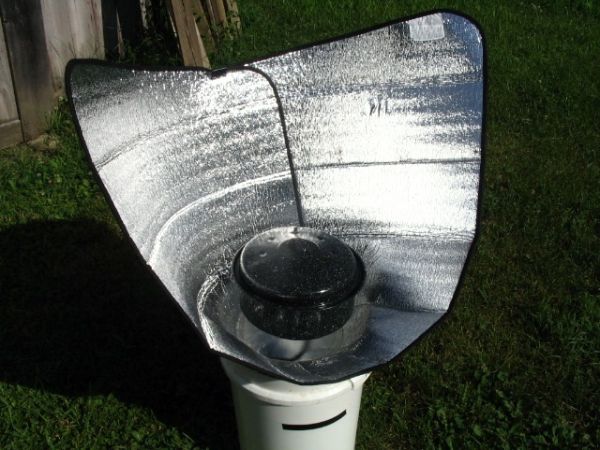
Image Source : 20minutegarden.com
To make this solar oven, you need a plastic bucket, a cone shaped windshield and a plastic cover. Fill the bucket with stones and place the windshield on the bucket. Place the black-colored cooking pot inside the plastic cover and put the pot and cover in the oven. Wait for few hours and you have done!
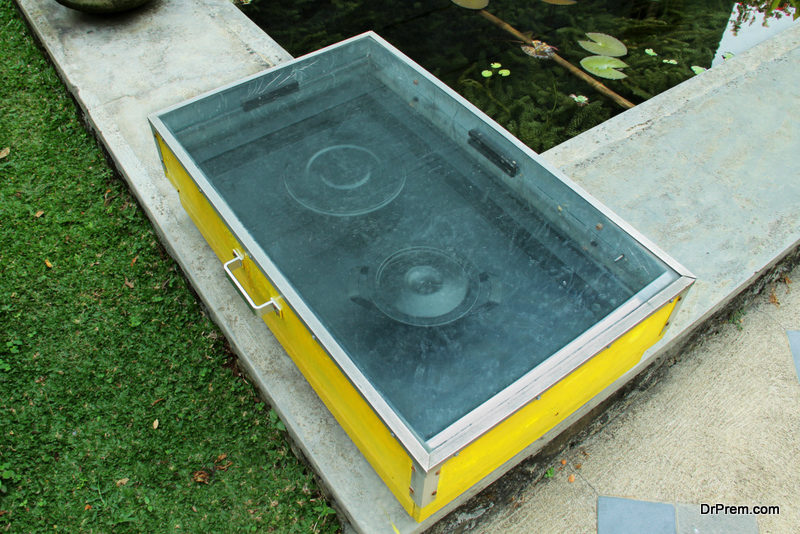
5. Solar Oven
You can make a solar oven from junks with zero cost. It is not a joke. Read the following tips.
a. Materials needed:
1 insulated cardboard box, 1 cardboard box (small), 1 cardboard box (for cap), 1 piece of glass, tape, black paint, clear plastic bag, black or dark pot, craft knife, ruler, cutting board, pencil, pen or marker.
b. Creation of oven:
Take the small box and cut one side and remove it. Then take second box, which is little larger than first.
Paint inside of the second box with black paint. Then place the smaller one in the big box.
Take a square-shaped glass piece and place it on the top of the third box which is kept for cap. Then trace the outline and mark another line inside of the outline. Then cut the inside line to make an opening.
Place the glass in the opening and now you have a lid with transparent glass piece.
Now take the black-colored pot which contains food and place it inside a plastic bag and then inside the cardboard oven.
Cover with the glass lid and place the oven in the sunlight. Wait for few hours and you can get your food cooked!
6. How to Make a Solar Oven (for under $20 and in less than 1 hour)
a. Materials needed:
Cardboard boxes of two different sizes, a flat cardboard sheet, a glass piece in square shape, aluminum foil, tube of silicone caulk, news papers, black spray paint.
b. Method of creating the oven:
Place the large cardboard box on the center of the cardboard sheet and draw an outline of the bottom side. Again place the smaller box and draw an outline again.
Now you will get two squares with a common center. Cut the three sides of the small square and make a window. Make one cut per each corner of the cardboard. Cut a straight line to the corner of the outer square. This line should be perpendicular to the edge of the cardboard.
Place and move a continuous bead of silicone caulk on the cardboard between the two squares and make sure not to caulk the flap.
Stick the sheet of plexi-glass to the flat cardboard at the center of the outer drawn square. Let the silicone caulk be cured.
Cut the top side of the big box and place the small cardboard box. Fix the bottom using the silicone caulk and the gap between the four sides of the boxes should be two inches.
Place the crumpled news papers inside the gap to create insulation. Stick the trimmed flaps of the inner box to the edges of outer box and let it be cured.
Cover the inner side and the underside of the lid with heavy duty aluminum foil. Paint the bottom of the chamber with black paint.
At last, place the food can inside the chamber and cover the chamber with plastic sheet or glass lid. Place the oven in the sunlight. After sometime, you will get your food cooked.