
No matter in what situation you are in – camping trips, long road trips, conferences, all day long meetings, natural disaster, power outages or no access to an electrical outlet – a solar USB charger is a tool that can be very handy in charging your gadgets like PDAs, cell phones, iPods or any other device that has a USB port. A solar USB charger has solar cells which transform solar energy into electricity.
Let us see how to make a solar USB charger at home.
Difficulty level :
Moderate.
Making the charger involves soldering, making electrical connections and using a glue gun.
Time Required:
2 hours approx.
Resources Required:
1. Altoids Tin
2. Two AA rechargeable batteries
3. AA battery holder
4. 1N914 diode
5. A solar panel 4V
6. A USB charging circuit
7. Solder
8. Soldering iron
9. Wires
10. Tape
11. Melt glue gun and glue
12. Tin snips
Estimated Cost: $30
Instructions:
1. As our project is based on the idea of changing the AA power into 5Vs i.e. the amount of current required to charge our USB device and for this we need a DC to USB converter circuit. You can go for a premade circuit available in market or can make one yourself depending upon your choice and convenience.
2. The second thing that is essential for this project is two rechargeable batteries. A rechargeable AA battery generates approximately 2000mA – 3000mA of current. This can be doubled (depending on the requirement) by using two sets of AAs in parallel.
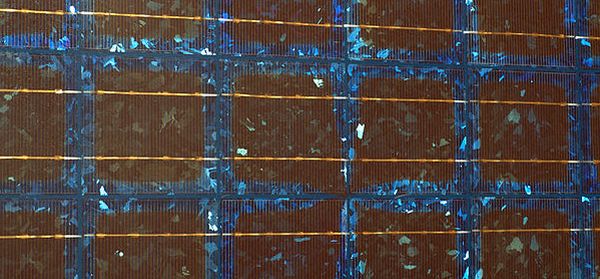
3. Now take a 4V solar panel or solar cell as it will be small in size. Since we are using two AA batteries, it will provide us the required amount of current.
4. Connect 1n914 diode directly to the solar cell with the help of solder but keep one thing in mind that the black bar on the diode is pointed away from the solar cell. After this connect a long wire to both diode and negative terminal on solar cell. Now tape up the connections for safety.
5. Now with the help of solder connect the negative wires (black) of the solar cell with the positive wires (red) of the battery pack and vice-versa.
6. Solder the charger on the board and after that solder the positive wires (red) to the positive points and negatives wires(black) to the negative points on the board.
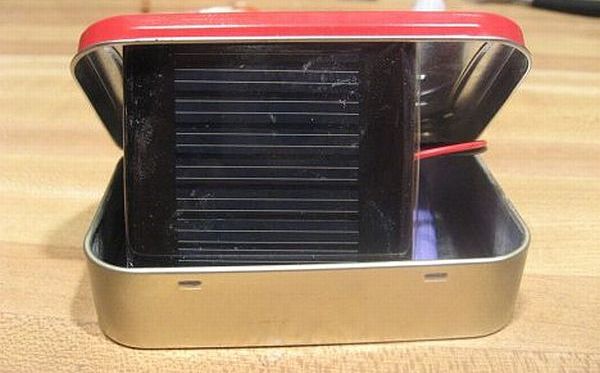
7. Cut the holes in the Altoids so that the USB ports gets fit in it.
8. For the sake of safety put some electric tape below the naked circuit board. Now place the battery pack and the USB circuit inside the Altoids and glue them.
Frequently Asked Questions:
1. Can I use a bigger solar cell (more than 4V) to make a solar USB charger?
A: If we are using two AA batteries to make a Solar charger then a solar charger of 4Vs is perfect as two rechargeable AAs will provide approximately 2.4V of current and now we just need a solar cell which provide 3-4V as to meet the minimum amount of current required to charge the USB device i.e. 5V. Any solar charger bigger than this would be a quite problem because of its size as it would not fit in the Altoids and secondly the total amount of current produced will be more than required i.e. 5V. In such case we will have to use a voltage limiter and that would be absolutely sloppy and waste of time.
2. Why is it necessary to keep the black bar on the diode away from the solar cell?
A: The black bar on the 1N914 diode is the negative side of the diode that prevents power back-flow. If we put it wrong then the current will not flow to the circuit and thus our device will not work.
Quick Tips:
1. Solar USB chargers are portable and thus can be used anywhere without requiring an external electric circuit and secondly they are absolutely eco-friendly.
2. Use rechargeable AA batteries as they can be recharged again and they come with a long life.
3. Use two rechargeable batteries and a solar cell 3-4V as they will match the minimum amount of current required. Also, they will fit in the Altoids well.
4. To avoid any confusion in the making of the project, while soldering wires on the board take them one by on.
Things To Watch out For:
1. After making connections tape up the naked connections from the safety point of view.
2. Glue the battery pack and USB circuit nicely inside the Altoids so that they don’t look clumsy.
3. Make sure that the black bar of 1N914 diode is pointed away from the solar cell otherwise it will protect the current flowing and thus the device will not work.