
These are the best of times; these are the worst of times. Borrowing from the popular Charles Dickens’ quote, it always pays to be ready for any emergency or eventuality. And if preparedness for emergencies involves some fun, it is all the more reason to get ready! In emergencies, there is a scarcity of resources and life depends on how well one can utilize the never-failing resources viz. the elements!
Here is a DIY project to make a solar-powered emergency radio. It is not that one would seek a radio in times of crisis! But it is fun to make one nevertheless and the word ’emergency’ seems to give the whole project a sense of importance and urgency.
Difficulty level
This project can be placed at ‘moderate’ level of difficulty. You will need some experience at handling a soldering iron and making a few wire connections. Other than that, the whole work should be a piece of cake.
Time required
Once you gather all the items necessary to make the radio, it should take less than 45 minutes to assemble it if you are a beginner. If you have a little experience in pulling apart and putting together things, it should take only about 20 minutes.
Resources required
- One simple working FM radio.
- Two solar garden lights.
- One diode
- Soldering iron.
- Wires.
- Wire stripper.
- Adhesive tape.
- Drill.
- Hot glue
- Small tin (Altoids tin would serve well) or a case.
- Headphones or ear plugs.
- Two rechargeable AAA batteries.

Estimated cost
The title of the DIY article itself makes this very clear. You can find all the items needed in the local $1 store (or any of its variant ‘junk stores’). Better still, you could pick up many of the items needed from a junk pile too!
Instructions
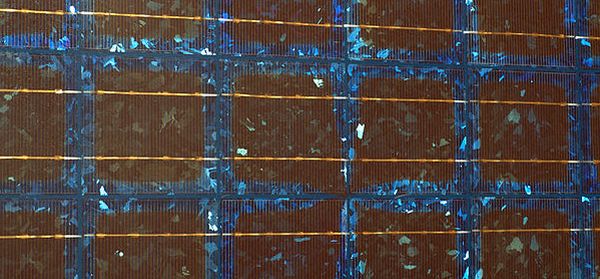
1. Open the head of the solar light. Remove the circuit board and carefully snip the wires that lead into the solar panel. Extract the solar cells.
2. Open up the backside of the FM radio. Unscrew and take off the knobs holding the circuit board inside. Take out this board along with the battery holder unit.
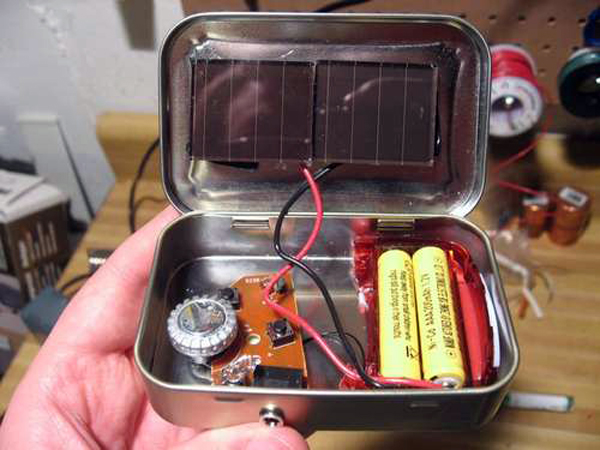
3. Neatly align and pack the board with the battery holder in the tin or case.
4. Align the board along the tin and mark out the region on the case where the headphone jack slot has been provided.

5. Drill a hole in the tin or case and ensure that the headphone jack goes completely in the drilled hole.
6. Drill in a hole for the radio LED to be seen. If the radio has no LED, just insert one into the circuit! ( This is just for show and has no real value. Beginners, just skip this.)
7. Solder the wire connect points and tape them to protect the soldered region and insulate it.
8. Connect the positive and negative wires from the cells to the circuit in the battery holder. Connect the positive to the positive and the negative to the negative.

9. Place the solar cells in the sunlight and check how well the radio is working.
10. Tape all the components neatly into the case or box.

Frequently asked questions
What do I do if the solar energy is not sufficient to continuously power the radio? That is where our AAA batteries come in. Add them into the battery holder of the radio circuit. They will power the radio and will recharge themselves through solar energy when the radio is at rest.
It becomes difficult to get the volume knob of the old radio. How to go about that?
Use the stripper or some tin snipers to chip and break away the plastic to free up the volume control knob. Make sure you don’t break it for you can use it. Use protective glasses while doing this for there will be flying plastic pieces everywhere.
Quick tips
- Keep multiple tins or cases ready to select the best one among them.
- Ensure that the board with the battery holder fits in the tin or case.
- Use hot glue to stick the circuit board so that plugging in and unplugging the headphones do not rip the circuit board off.
- To save space in the box, you could also make use of a 3V coin cell or ultra capacitor.
- Use safety gloves while handling the soldering iron and the drill.
Things to watch out for
- Be careful when you are dissembling the solar lights. If you cut away the solder point on the solar cell while opening it up, the solar cell is as good as junk.
- Drilling can be a little tricky. Be careful not to cut your fingers (or any other part of your body for that matter) when you drill.
- The soldering iron reaches temperatures in excess of 180 degrees centigrade. Handle it with care so as to prevent severe burns.