
The summer sun can be very severe and dehydrating. While cold drinks are often considered as a ‘solution’ to beat the heat and re-hydrate the body, very often, these canned drinks do not remain cool in spite of using Styrofoam coolers. Here is an elegant way to make use of the sun to keep the drinks cool – by making a solar powered can cooler!
It is easy to make one yourself and this DIY project is detailed in simple steps in the tutorial here.
Difficulty level
“Moderately easy” – It requires some basic knowledge about circuits but this tutorial will make everything very simple.
Time required
This project will be completed in about 1 hour.
Resources required
- Philips head screwdriver
- Wire cutter
- Wire stripper
- Solar powered garden lights
- Voltage meter
- Soldering iron with solder
- Diode
- Hot glue gun
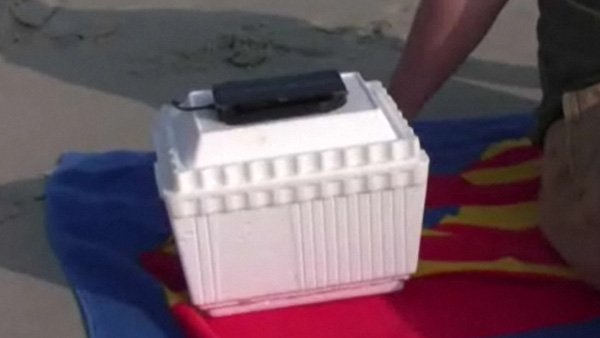
- Styrofoam cooler
- USB powered drink cooler
- Pencil
- Knife
- 5V regulator
Estimated cost
You should be able to buy all the materials necessary for under $20. Most of the resources will be available at home.
Instructions
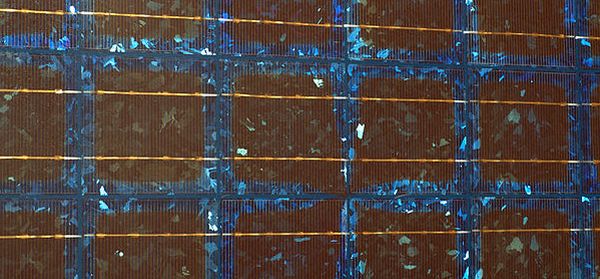
- You will have to open up the solar powered garden lights to extract the solar panels. Using the screwdriver, remove the screws that hold the panels.
- There will be two attaching wires within. Cut them off to finally separate the solar panel.
- Making use of the wire stripper, remove about a quarter inch of the plastic at the end of the wires from the solar panel.
- Gather as many panels necessary to generate an output of 5V.
- Using the soldering iron, fix a diode to the positive wire of the solar panel.
- Take the USB cord of the USB cord cooled cooler and cut off its flat end with a knife.
- Use the stripped to peel away about quarter inch of the plastic casing of the red and black wires.
- Connect the positive and negative terminals of the panel-conglomerate with those of the USB cord that you stripped in the previous step.
- Place this set up in the sunlight and test whether it lights up. If it does, then you are ready for the final stages of construction.
- Using hot glue, fix the solar panel to the underside of the drink cooler.
- Position the drink cooler on the lid of the cooler made of Styrofoam in such a manner that the cooling element faces down.
- Use a pencil to trace the outline of the cooler on to the lid of the Styrofoam cooler.
- Cut out carefully along the outline drawn and discard it.
- Fix the drink cooler to the lid into the outline that has been cut out. You should have half of it poking out of the bottom and the solar panels must be facing upward.
- Your new solar-powered can cooler is ready.
Frequently asked questions
How do I know the number of solar panels that must be used in the making of the solar powered can cooler?
The idea is to generate 5V output. So, we need as many panels that are necessary to give this output. Take the solar panel and connect its wires to the terminals of the volt meter. Place the solar panel in sunlight and observe the reading. Keep adding panels in series till you get the required 5V. To connect the panels in series, connect the negative (black) wire of one panel with the positive (red) wire of the other and then connect the remaining ends to the volt meter.
What should I do in case the summation of the solar panels gives an output greater than 5V?
This problem can arise. To solve this, you can make use of the 5V regulator in the circuit. This will ensure that the output voltage does not surpass 5V.
Quick tips
- Soldering a diode into the circuit will prevent the current from flowing back into the panel.
- When you are stripping the wires in the USB cord, ignore any other wires other than the red and black.
- The effectiveness of the cooler is inversely proportional to the size of the Styrofoam cooler. The smaller it is, the more effective the cooling is.
Things to watch out for
- When you cut the wires coming from the solar panels of the garden lights, be careful not to cut them too short. It will become a problem for rewiring later.
- Be careful while using hot glue. It can bond skin and skin. It is preferable to use glove when working with this glue.