
Traditional fences are not as economic as electrical fences and are also considered better for animals. If accessing alternating power is the problem then you can always consider installing a solar powered electric fences. The following guidelines can help you with this.
Difficulty level: Moderately challenging.
Time required: about an hour
Resources required:
- Fence charging unit
- Posts
- Shovel
- Tensioners
- Insulators
- Wire or mesh
- Electric fence tester
- Ground rods an wires
Instructions
1. Needs
First you need to decide on what purpose the fence will serve. This will help you decide which fence system you want. Red Snapprs website can help you with the basic planning of your fencing system. Your priorities and needs will help you decide that kind of fencing you need.
2. Neccessities
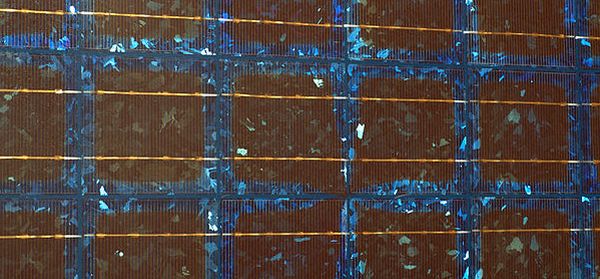
Then you need to purchase a charger for your solar fence and other necessary accessories. You can do a thorough internet search regarding this or visit local hardware stores if you need to compare systems.
3. Build the fence
You can start building the fences at the corner and at the end posts. You can also stretch a string between them. This will help you mark the areas where you need to place the line posts. You can place the line posts and stretch the mesh or wire that you have chosen around the perimeter. Then you can attach and fix the tensioners and insulators.
4. Connections
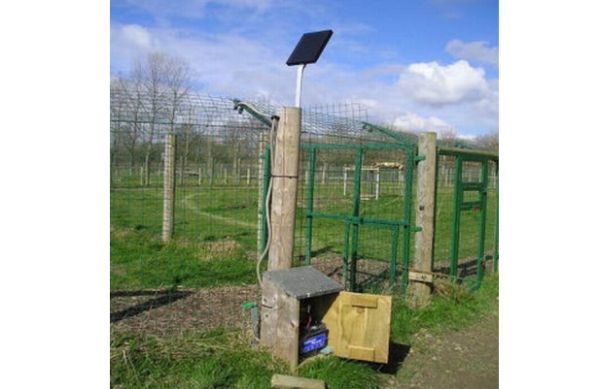
Place the electric fence charger on a strong mounting surface at one end of the fence. The mounting surface can range from a wooden post facing south in direct sunlight. Make a ground bed by digging a trench which can be shallow, near the fence charger. Insert a number of ground rods which are essential for the installation. Then you need to make the necessary connections. You need to attach the negative lead to the grounding rods and the positive lead to the fence.
5. Charge
You can charge the charger in direct sun light for at least 24 hours. After energizing the fence, check the voltage on the fence regularly. For safety purposes, you can also use an electric fence tester.
Frequently asked questions
Where can I find the equipments?
The equipments can be found in any nearby local hardware store.
How will I decide on the priority?
Your needs will depend on the animals you want to keep in the house or farm. You can also have other needs which the fences can fulfil and cover.
Quick tips
1. You have to keep it in mind that dry soil is a poor conductor of electricity. If you want longer fences in arid regions, you might need to add extra ground rods which will have equal space along the fences.
2. Be a little careful about yourself as it involves a lot of electric handling. You need to be extra cautious regarding this. Rubber gloves and shoes can help you regarding this as rubber is a bad conductor of electricity.
Things to watch out for
1. While you working with an energized electrical fence near you, you should always wear rubber soled sleepers or shoes and rubber gloves as rubber is a bad conductor of electricity and will protect you from receiving a high voltage electric shock.
2. Be careful about your animals when they are new to the electric fences. Though they mightreceive a light jolt on touching the fences but this might make them run through the fences in shock instead of running away from it. So, you need to train them in such a manner that they don’t go near the fences as you can’t predict the reaction of your animals so don’t wait to see them react.
3. The growth of weed should be checked around the fence as this can make the electricity jump off the fence and go around the weeds. This will render the fences useless. So, make sure you keep the land near the fences mowed properly to make the fences work effectively.