Sun is the almighty and blessed are the people who live in places where it shines throughout the year. So many times we take the sun too seriously. We don’t ever want to annoy the light out of it. It’s looks are deceptive enough to dissuade you from playing around with it, but if you are willing to frisk around a bit, there are myriad ways in which you can enjoy your sunny days even more, creating useful things powered by the sun. Read the following to find out more.
1. Sun Jar Garden Light

For creating a Solar light right at home, you will need a small glass jar, a solar garden light, a rechargeable battery, tracing paper and some glass frosting spray. To start with, rip the innards of the solar light and place them inside the glass jar. Cover the mouth of the jar with tracing paper or spray the glass frosting spray. Connect with a battery if required, but try harnessing the sun power as much as you can during the day time and enjoy the glowing evenings.
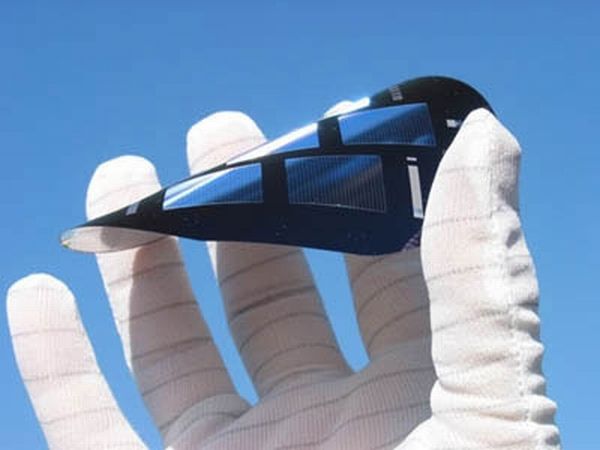
2. Charging iPhone with solar power

If sunlight is available everyday and the high selling iPhones have a provision to get charged using the sun’s energy, approximately 50.644Gwh or energy would be saved. In terms of reducing CO2 emitted, 75,965,615 Ibs will be the estimated amount. The Minty Boost DIY USB kit is the correct choice for charging you iPhone using solar energy. A solar cell with a power of 6V/250mAh will be sufficient to generate power enough to fully charge the iPhone in about 5 hours.
3. Building a Green House with just $50

For building yourself a nice small green house in the backyard with just $50, all you will need is scrap wood and some glass window panes. The first step is to cut the wood and make a box that has a slanting top. Use hinges to fix the angles in the box. Remember, the slanting top roof has to be made of the scrap glass you have at home. Once in place your own green house is ready for you to place some plants inside it and do remember to regularly water them.
4. Cook with cardboard box

If you wish to impress your friends with solar cooking this summer, now there is an easy way to do it. It can make your own solar cooking box at home. All you need is a cardboard box, some aluminum foil, plastic and some other tit bits available in the house. To begin with, take a cardboard box and mark a border an inch away from the edges. Cut away three sides and the fourth one left, will become your oven door. Take a piece of aluminum, the size of the door and glue it to the underside. Then take a plastic slightly larger than the opening. This will act like the magnifying glass used for generating scorching heat. Use another piece of aluminum to line the base of the box, top it with black construction paper and tape it. Your cardboard cooker is ready.
5. Solar Lawnmower

In comparison to the conventional lawnmower, the solar version has many advantages. There is no hazard of using gasoline and you will not be bothered to take up unnecessary trips for gas fill-ups. To make things easy, you can simply convert gas power mower into a solar machine. Replace your gas engine with an electric engine powered by a 12V battery. Photovoltaic panel will be used for charging this battery.
6. Solar water heater

Building a solar water heater can now be done with just a $5. All you need is a recycled refrigerator grill, some wood pieces, tape and a glass panel. Make a box using the wooden pieces. Fix the old grill inside the box and cover with the glass panel. When ready it will heat water up to 170F.
7. Engrave wood with sun laser

Material required for this will include dark sunglasses, aluminum foil tape, razor blade, magnifying glass and material to be engraved and of course loads of sunlight. Cut out the required piece of tape and paste to the wooden surface. Use a knife or cutter and carve out the design of your preference onto the tape and remove the portion cut out. The next step is to burn the exposed portion. This has to be done real carefully. Lastly, remove the tape and you are done.