Rain harvesting one of the most environmentally friendly way of collecting water. You can harvest a lot of water from natural rain that be used for any purpose in the house or your lawn or farm that also for free. A 1000 square feet space gives around 600 gallons of water from one inch of rain. That’s a lot of water, right?
You can put many water harvesting ways into action but local regulations and guidelines have to be followed. If you are going to drink the harvested water, then it has to be filtered and purified. Before we talk about any rainwater harvesting system, let us cover some basics.
Rainwater harvesting
 Simple to understand, rainwater harvesting system is a process of collecting rainwater from the roof of any house or building and storing it for later use. The practice is common in both urban and rural areas, especially among gardeners. Rainwater harvesting can be as simple as placing a barrel under the downpipe of any building or can be complex by involving harvesting mechanics into the plumbing system of the house.
Benefits
Apart from being environment-friendly and economic, rainwater harvesting has a number of other benefits
a. Rainwater harvesting system reduces the threat of flood by preventing soil erosion in surrounding areas and minimizing the impact of stormwater infrastructure as well as sewer systems.
b. It prevents water wastage, as the stored water can be used for irrigation, gardening, car wash, toilet flushing, bathing and even drinking after proper treatment.
c. Rainwater harvesting system reduces the sole dependency on municipal water supply. In case, if there is a problem in the area’s water supply or there is no supply at all, you still have another source.
How to harvest?
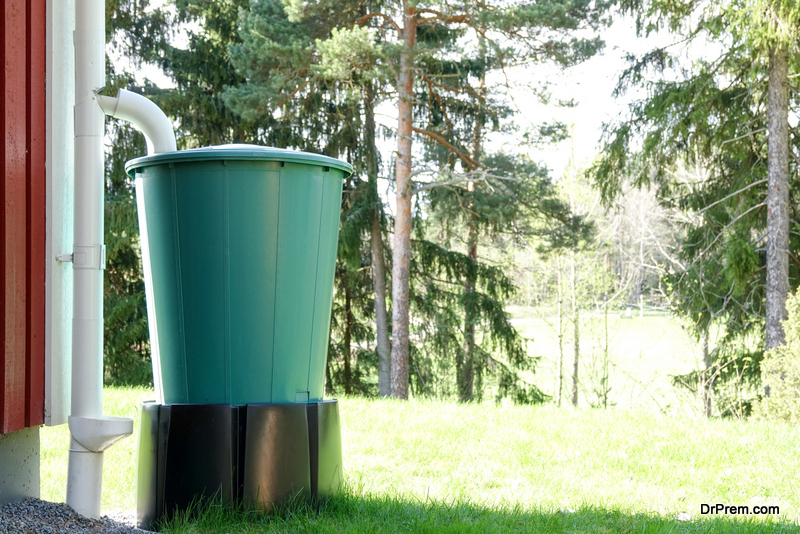
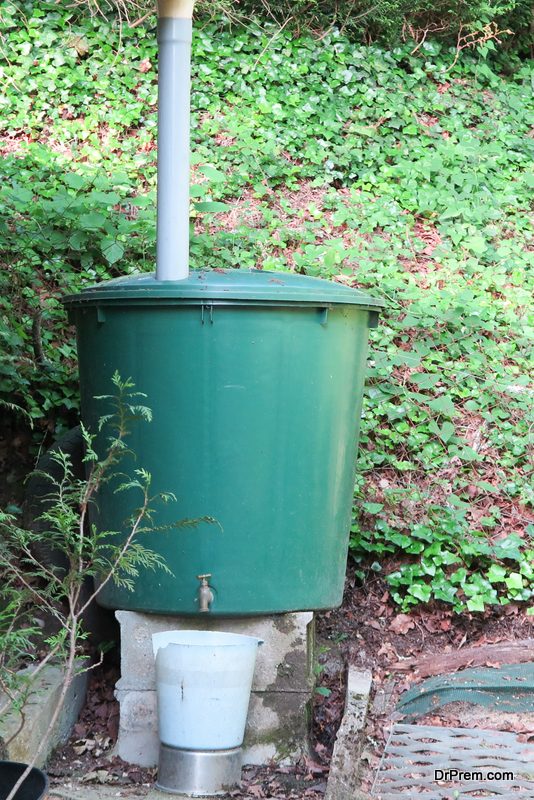
An inexpensive way to start rain harvesting is using a rain barrel. You can easily store rainwater in a barrel that can be used later for garden and lawn purpose. It will be very helpful in case of water shortage or an unfortunate event of drought. By spending approx hundred dollars, you will be able to build your own water collecting system for home. Read on know the DIY steps.
Step 1. Choose rain barrels
Either purchase a rain barrel that fits with the house color or get a used one from any food store or any other merchant outlet. Going with the used one is better as it will be cost effective. You can select barrel with a capacity anywhere between 15 to 55 gallons. (56 to 208 liter).
If you are looking for a used barrel then do not select one used to store pesticides or similar toxic substances. It’s a difficult task to clean such substance from inside of the barrel. If it is available, take a couple of barrels so that you can store multiple gallons of water using the same mechanism in the long run.
Step 2. Purchase or pick up the additional materials
Some materials will be required to build the rain barrel system. We are mentioning all the tools, whatever you are able to find at your house keep it aside and others can be purchased from any hardware shop.
a. One standard hose spigot with 0.75-inch pipe thread
b. Four washers – metal or plastic
c. Teflon tape
d. Silicone caulk/glue
e. One downpipe elbow – aluminum or plastic
f. One Aluminum screen
g. Concrete blocks – 4 to 6 (Depending on the size of barrel and blocks)
h. 1. 75-inch x 0.75-inch coupling
I. A 1.75 inch x 0.75-inch bushing
j. 1-inch hose adapter and 1.75-inch pipe thread
k. 1.75-inch lock nut
l. One shovel
m. One driller
n. Metal screen and saw
Step 3: Make a platform for rain barrel/barrels
a. Downpipe will carry rainwater from roof gutters to the barrel. Clear any rocks around pipe’s area and if the ground is not flat, use a shovel to flatten it.
b. Dig a 5-inch deep rectangular area wide enough to place the barrel and use 0.5 inches of pea gravel in the space. Pea gravel will prevent water from getting inside the house’s foundation.
c. Stack the concrete blocks sideways. It should be steady, wide and long enough to hold the barrel.
Step 4: Attach the spigot and overflow valve
a. Drill a standard 0.75-inch hole on the side bottom of the barrel. The hole should be high enough to fit a water jug or bucket below.
b. Apply caulk on the inside and outside around the hole
c. Put the coupling on the spigot and apply Teflon tape around the threaded end to prevent any leakage.
d. Put one washer on the threaded end of the coupling, insert it in the hole from outside and use the second washer over the pipe from inside. Attach the bushing to hold the spigot.
Step 5: Make an overflow valve
a. Drill another hole few inches from the top of the barrel. Size of the hole should be again 0.75 inches. Apply the caulk on the outside and then inside surrounding the hole.
b. Use a washer on the hose adapter, insert it into the hole from outside and put another washer on the threaded part of the adapter from inside. Apply Teflon tape around the adapter and use a nut to tighten.
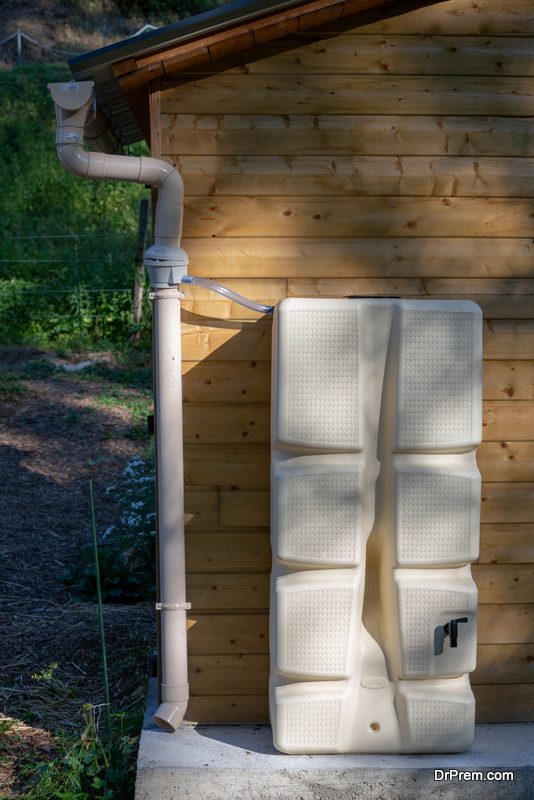
Step 6: Configure the rainwater collection system
a. Place the barrel on its platform next to the downpipe. Mark the downpipe once inch below the height of barrel and cut it using a metal saw. Connect the downpipe elbow and tighten it with screws. Make sure that the other end of the elbow dips well in the barrel.
b. If the barrel has a lid, cut out a hole big enough to fit the downpipe elbow. After fitting the elbow, use a metal screen to cover the hole properly.
c. Use a filter at the top of downpipe to stop leaves or any debris, which may cause water clogging.
d. If you will use more than one barrel, then make a 0.75-inch hole parallel to the spigot on the other side. Make a hole on the second barrel so that you can connect pipes between these two Attach hose adapter in both the barrels as described in step 5. Use a small pipe to connect the barrels.