
With the rising crisis like situation developed for non renewable sources, everyone is looking to explore the power on renewable energy. There are several products that make use of solar power. You can add one more to the list of eco-friendly equipment. With festivals seasons coming, especially Diwali, the festival of lights, you will first start looking out for colorful lanterns to light up your house. This would end you up will high electricity bills. Worried!! Wondering how to tackle with the money saving issue? Why not take an eco friendly way of celebrating Diwali. Still confused! It is simple why not get a solar lantern this Diwali. You can make a solar lantern for yourself that too at a reasonable cost.
Difficulty Level
The project is moderately challenging and may require expertise in few areas.
Time required
A week approximately, you can even make it in a lesser time.
Resources required
1. Wood Dowels of 3/16 inch Diameter
2. Blank Wood Coasters of 4 inchx4 inch
3.Thin Fabric
4. A wire cutter
5. 200 Grit Sandpaper
6. 2 Garden Creations Color Changing Solar Yard Lights
7. Sewing Machine
8. An electric Drill
9. Wood Glue
10. A Pencil
11. Flat Black Spray Paint
Estimate Cost
It depends on the materials you use. Not very expensive though.
Instructions
1. Preparing the Solar Light
First get the part of a yard light which you might need for this project. To make a solar lantern, you would just need the top part to be a solar one, which will be attached to LED. Now, place the solar top counter by twisting it in a clockwise direction to unlock from the bottom piece. You can also buy the solar yard lights, which are available in the market. Check whether these lights are in working condition before placing them in the box.
2. Preparing the Base
Now, start with the base of the lantern. Use the 4″x4″ blank wooden coasters as the base of the lantern. Sand these coasters to have a smooth finish using a sand paper. Redo if required. Once the surface becomes smooth, outline the shape of the solar top using a pencil on to the coaster. Make marking where you need to drill the pilot holes, which will be used to slide the wooden dowels. Go ahead to drill straight down on the marking made on the coaster.
3. Preparing the Dowels
After that cut the wooden dowels to the correct length required. For instance , take it as 5 inch, you can change the measurements as well. Using wire cutter to cut these dowels, you can also use dremel for this process.
4. Getting The Dowels in Place
Once cut in the desired shape, push the dowels through the pilot holes till they start to emerge from the bottom of the base. Now, turn this whole thing upside down in a way that the base is on top. Allow dowels work like table legs. Add few drops of wood glue to each hole on top of the dowel and allow it to dry overnight. If the glue dries earlier then you can go to the next step.
5. Preparing the Fabric Wrap
This part will need some sewing work to be done. The circumference of the wrap should be of 13 ½ inch and the height depends on the length of your dowel. Just keep in mind that, only ¼ inch of dowel should be left sticking up above the wrap once it is properly put in place. Seam the top as well as the bottom part of the wrap to make it look neat and nice.
6. Put it all together
Now, you are done with the sewing. So, slide this wrap over the dowels ensuring that all sides are accurately pushed all the way down till the base. Now, push the protruding dowels from the top of the wrap into the solar housing’s corners.
7. Paint it!
Before finally fixing it all together you need to paint it. So, remove the solar top and the fabric wrap. Ensure that all the wooden parts are smooth. If not then sand it again to make it smooth. Next, place the piece base down on some newspaper and spray an even coat over the exposed wood, including the dowels. Allow the paint to dry for a whole day. If required you can apply an additional coat of paint. Once the paint dries you can fix all the parts back to place. Now your solar lantern is ready to be used.
Frequently asked questions:
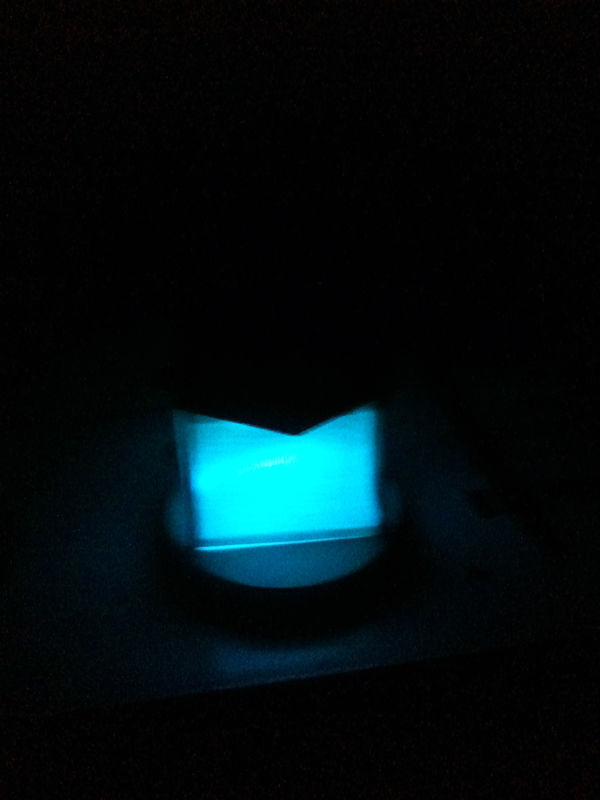
How does this lantern change colors?
You can buy a color changing solar part from the store and fix it to the lantern. This will make your work lot easier.
Quick tips
1.Wire cutters help you cut the dowels to size required very quickly. At the same time they pinch the ends a bit making it easier to push the dowels into the pilot holes.
2.Keep in mind that the length of the fabric used should be similar to the length of the dowel so that the wrap stays in place properly.
Things to watch out for
Be careful when you use power tools. Have a safe work area and ensure to wear proper eye protection.