
Solar powered camp lights are an indispensable gadget in today’s world. A solar powered light derives its energy from the sun and so it is not dependent on the fossil fuels. The expenditure of maintaining such a device is less because there is no extra energy consumption of the device and the components are pretty cheap too. Here is how you can make a solar powered camp light at home.
Difficulty level:
Moderate.
Time required:
3 hours.
The gathering and arrangement of the components and equipment must be done prior to the starting of the project. And the auxiliary accessories also should be present.
Resources required:
1. Soldering iron
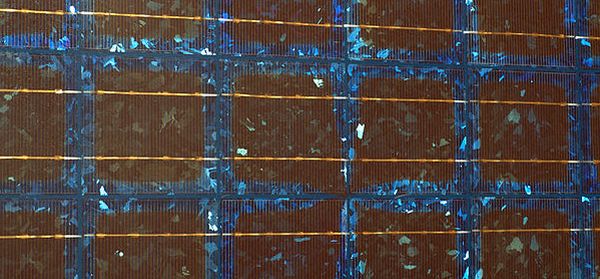
2. Solar panel
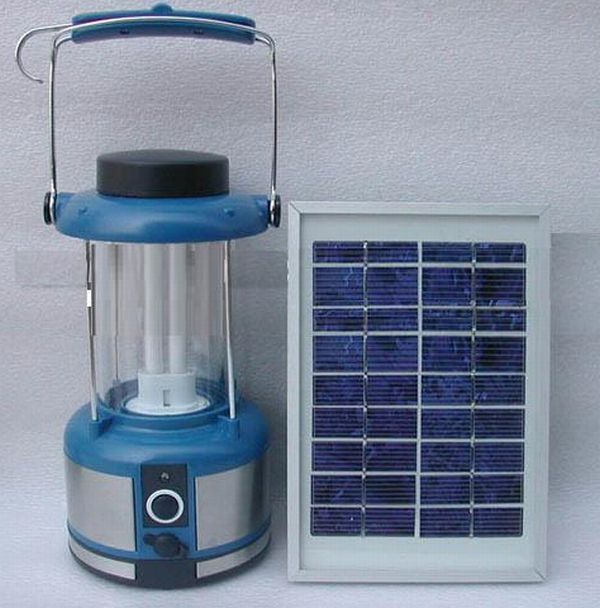
3. A lantern. You may use a solar lamp instead as well.
4. Hot glue gun
5. Hot glue
5. A bunch of wires
Estimated cost:
The cost of this stunning project is low. The individual parts of the solar lamp are very cheap and in some cases the components are available at home too. A lumpsum of $50 should suffice.
Instructions:
1. Remove the solar panel from the lamp. This is required to connect the parts of the solar panel to the main grid of the circuit. The circuit consists of a dense network of wires & panels. The connection of all the parts depends upon the wiring of the individual constituents.
2. Open the camping lamp. There are 2 power lines. Connect one power-line to the switch. Connect the other power-line to the wire that is connected to the LEDs of the lamp. These connections must be checked properly in order to ensure better performance of the camping lamp. While making a solar powered camp light, lanterns are very popular components which can deliver the need. The lanterns are easily operated and can be handled with roughness without getting broken.
3. The solar panel is now ready. The wire of the panel must be expanded in order to increase the area covered by the wires. The connections must reach the main grid with proper allowance of the circuit elements.
4. Then the solar panel wires are connected. The separation of the lamps, wire management, placing of the solar panels are some of the areas needed to be kept in mind. The panel needs to trap solar energy and provide the required electricity to the lamp. The panel has to be properly placed in contact with the other circuitry of the project.
5. The whole circuit is then glued together using a hot glue gun so that a compact structure is achieved. It is to remember that the whole process must be done under supervision in order to avoid any unprecedented problems.
Frequently asked questions:
1. What type of glue is required?
Ans. Any good quality hot glue would do the job.
2. What type of lamp must be used?
Ans. Lanterns can be used and short, sturdy lamps are also welcome.
3. Can glue tapes be used?
Ans. Yes, glue tapes can also be used.
Quick tips:
1. Carry out the process after gathering and arranging all the equipment and compenents.
2. Screw drivers can be used to work faster.
3. Red and black tapes can be used for better identification of electrical grids. (Red stands for the positive polarity and black for the negative polarity.)
4. Already used wires may be collected to carry out the project to save a few bucks.
Things to watch out for:
1. The electrical source must be switched off before connecting the parts. While connecting sudden voltage spikes may erupt, so take precaution.
2. The copper wires must not be touched directly as some residual electricity may be present.
3. Most importantly, the project must be done under strict supervision because human errors cannot be guaranteed. You must take this seriously so that safety is always maintained.
4. The hot soldering iron and hot glue gun must be handled under proper supervision.