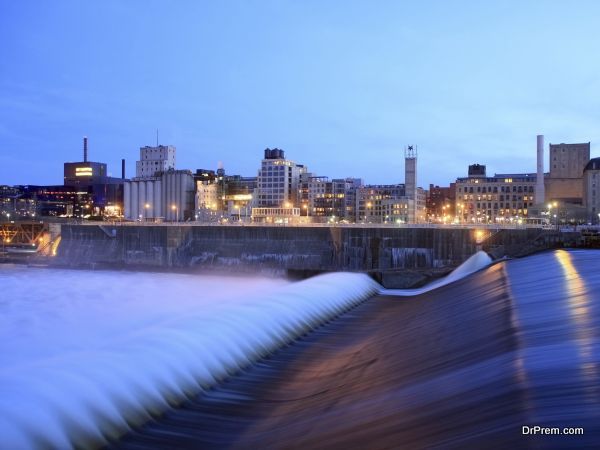
Remember when you were first introduced to the principle of conversion of energy in school? The idea is both fascinating and appealing as states that we can make use of most of the abundant resources around us and change its form to make the same beneficial for ourselves. Taking the concept as a base, we have come as far as building massive geothermal power plants, electric generators, hydroelectric dams, windmills and more of such transducers.
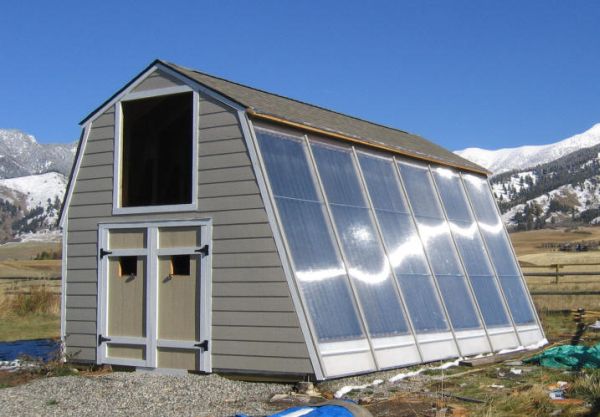
Due to the significant decrease in the conventional sources of energy in recent years, the use of micro-hydroelectric power has been widespread. Smalls farms, small businesses, and homes are increasingly shifting towards the generation of electricity with the help of a stream nearby. The only thing one has to make sure that the height of the water source and the water flow is sufficient enough to make it work.
In this article, we will know about how you can build your own hydroelectric generator and start counting on one of the most cost-effective forms of renewable power.
Understanding Hydroelectricity
 Understanding hydroelectricity is no rocket science. Rather, a DIY hydroelectric generator model or a miniature turbine may be an excellent idea for a school project in science to fetch your child an outstanding grade. Before we learn how to build our DIY hydroelectric generator, we need to know how hydropower or hydroelectricity works to have a better understanding of the generator itself.
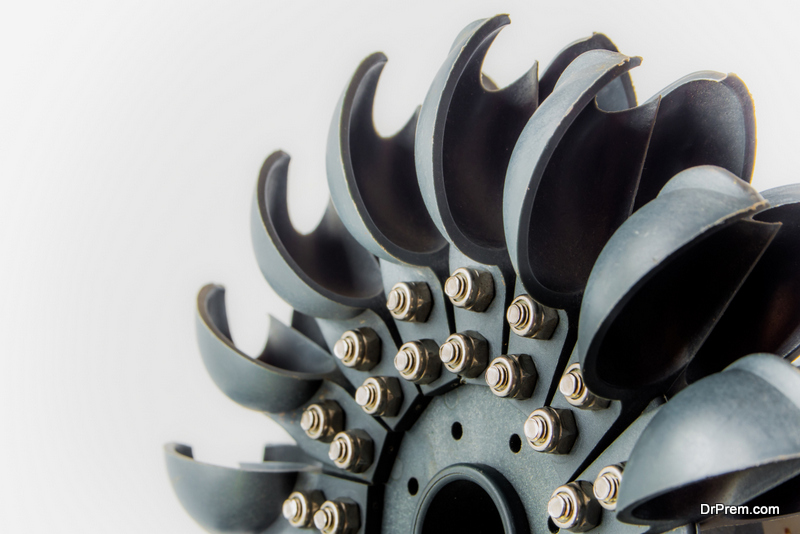
Hydropower is generated with the help of a turbine below the high-point water source. The turbine connects to a shaft leading up to the generator. The energy from the free-flowing stream of water is converted into mechanical energy by the turbine which is again converted into electrical energy by the generator. Therefore, the blades, the turbine, the shaft, and the generator together make up the hydroelectric generator.
There is a plethora of benefits that Hydroelectric Generator as a renewable energy source has over other sources of energy, the very first being zero impact on the environment. Hydroelectric generators generate electricity without polluting the environment which is a great positive factor. Hydroelectric generators may also be used for irrigation purpose. Compact generators are mobile and can be carried to different places. Build your own hydroelectric generator without giving it a second thought if you have a river or a stream nearby and make a big switch to energy-efficiency.
DIY- Build Your Own Hydroelectric Generator
 Building your own hydroelectric generator is an easy task when you have an idea about how to go about it. To build a miniature turbine for a school project, one does not need to go crazy about the materials required. The materials required to build your own hydroelectric generator is limited to 10 plastic spoons, four rare-earth magnets, heavyweight cardboard, enameled magnetic wire, vinyl tubing, and a plastic jug. Keep other materials like wire cutters, glue, permanent markers and gloves handy. One may require a little assistance through the project, but that’s it. Here is how to build your own hydroelectric generator in easy steps:
- Prepare the disks- Cutting out the two discs, i.e., the stator and the rotator is the first step in the process. Stick templates that contain the stator and rotator scheme to cardboard and cut them out neatly. Make a 1 cm hole at the center of the stator disc.
- Attach the stator- To prepare the stator, you have to make four coils and attach them on the cardboard. Cut out oval-shaped cardboard and start winding the wires around it tightly. Wind the wire in circles tightly around the cardboard up to 200 times and remove the coiled wire carefully. Repeat the same to make three more coils.
After the coils are made, it is time to arrange the coils on the cardboard. The only thing that you must take care of is to place the clockwise and anti-clockwise coils alternatively. The end of the coils must be connected with the help of insulation tape. The wires connected shall produce an electrical-resistance which when checked with a multimeter will display a reading of around 10 ohms. - Attach the rotor- Next comes fixing the rotator. Cut out eight plastic spoons from the neck and insert each of them into a cork to the depth of about 1 cm. After you are done with the same, you will need four strong magnets to attach to the stator. Mark the poles for each of the magnets, the South Pole for two of them and the North Pole for the other two. Attach the magnets in a way that their polarity alternates.
- Fix the miniature turbine- Take up the miniature turbine and make a 6mm hole through the center-point of the cork. Adjust the spoons to bring them into a perfect geometric position.
- Bring them all together- To fix everything together, you need a plastic bottle. Find the center of the bottle and make a hole at the point. Attach the stator with coils above the hole and on the same shaft, attach the spoon and the rotor. Make it a point that the magnets must be close to the point and the spoons face the neck of the bottle.
After you attach all the parts, you will have the final product which is ready to convert the mechanical energy generated to electrical energy. Our miniature turbine is ready to use now. To make it work, connect the turbine to a generator and place it in a running stream of water. If the project has been a success, the turbine must produce enough electricity to charge a small battery.
Now that you know how to build your own hydroelectric generator using some simple materials, you can try it for yourself. Understanding hydroelectricity is all it takes to make this experiment a success. Build your own hydroelectric generator and contribute your little part in making the world a better place.