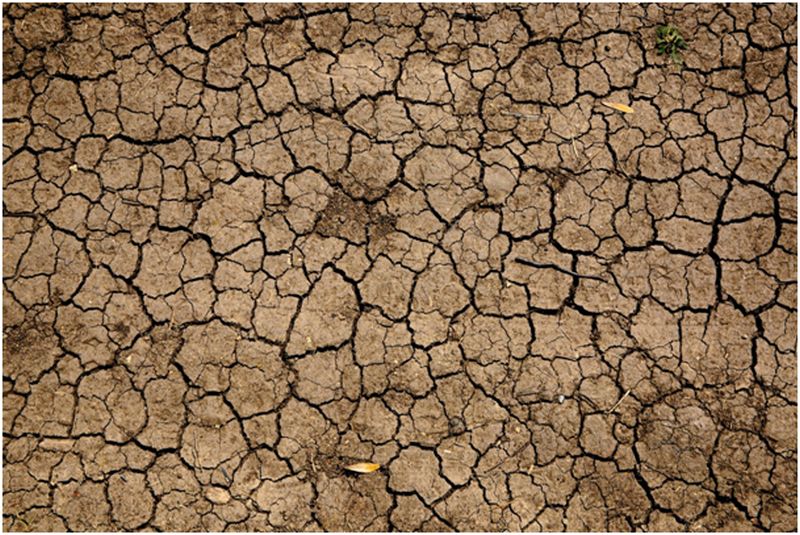
71% of our planet consists of water, yet it is running out, and we are at the brink of prolonged water shortage!
It is pretty confusing, but the blame is on us for not worrying enough about conserving one of the most treasured resources. We need water to survive, and with severe droughts and water shortages, we have to take a few crucial steps and learn how to save water at home!
Why Do We Need to Save Water?
When you have something in abundance, it is hard to recognize its value.
Water is easily accessible to most Americans, making it harder to remember that it can run out if we are not careful. Thanks to global warming, droughts frequently occur in various parts of the world.
The good news is that it’s not too late to take action! Imagine not taking a shower for a month due to scarcity of water. If we don’t start being careful, that day is not far away. This is why we need to save water for a better tomorrow!
Saving Water
Here are a couple of ways to do your part and save water.
1. Outdated Appliances Use More Water
Have you been thinking about swapping your outdated appliances with new ones? Because if you are, then here is a gentle push to convince you to go for it!
Old home appliances in our kitchens, laundry rooms, and bathrooms use excessive water to carry out essential jobs. For example, did you know that an old dishwasher can use up to 27gallons of water?
Solution:
You can turn the narrative around by upgrading your appliances with more water-efficient ones. It will be cost-worthy, but worth it to save water, and eventually the planet!
Modern technology has enabled new ways of saving water without taking away the appliances’ luxury. For example, you can use as little as 3-gallons to do a load of dishes with an energy star-rated dishwasher.
Perhaps it’s time to upgrade toilet appliances as well. For example, did you know old toilets can use as much as 6 gallons for a single flush? However, an updated toiled design ergonomically uses only 1.28 gallons or less when flushing.
2. Not Using a Salt Water Softener
One of the significant problems when water is acquired from wells and other such resources is hardness. Traditionally, water softeners have been used to soften hard water.
An exchange of ions takes place that physically extracts hard minerals from the water and makes it soft. However, this process generates much wastewater that cannot be reutilized.
Solution:
To avoid adding more to the percentage of wasted water, you can use an efficient saltless water conditioner to soften hard water. This process helps in saving any amount of water from going to waste. For more on saltless conditioners, you can check https://watermasterz.com.
You could also use an up-to-date salt-based softener which helps reduce water wastage by up to 80%; but it is not ideal as every drop counts.
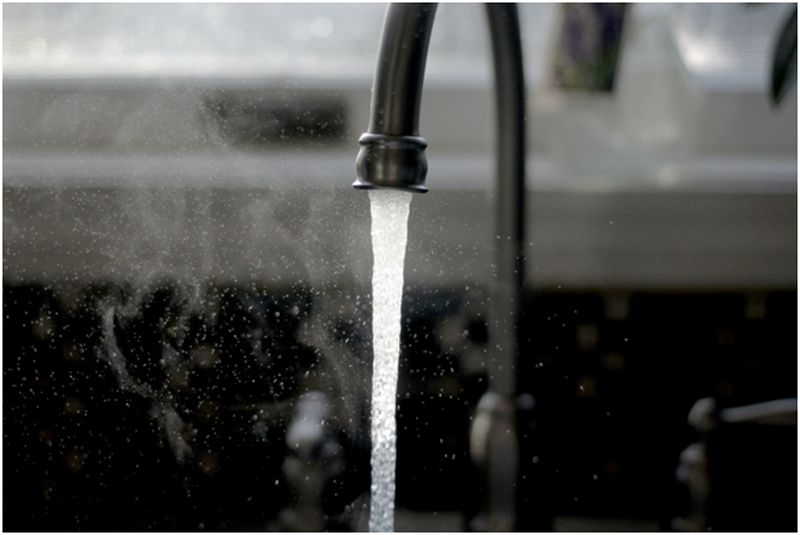
3. Saving Water in Showers
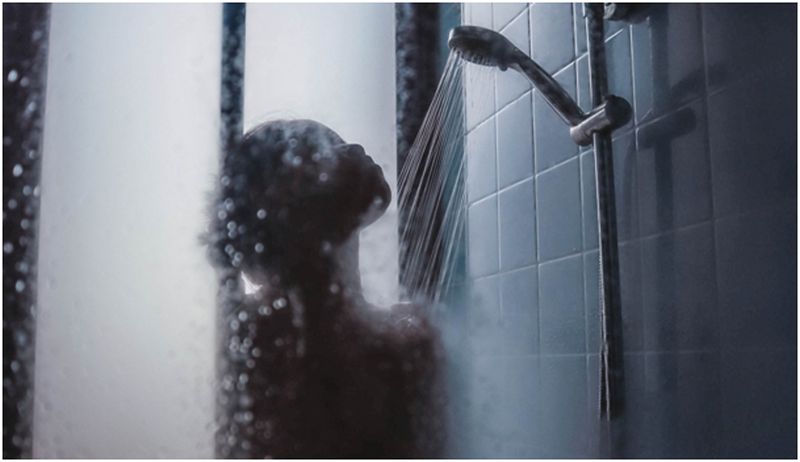
Showering is an essential part of hygienic practices. However, on average, a showerhead flows at the pace of 2.5 gallons per minute. Now, do the math, and you can imagine how much water you are wasting while taking a shower.
Fortunately, there are better and more efficient ways to take a shower, feel clean, and still save some water!
Solution:
It is a great feeling to stand under a gush of warm water after a long day of work. But, try to limit your shower time to five minutes maximum. If you have trouble keeping your gait, put on a song and close the shower head as the song ends.
Don’t wait for the water to turn hot while letting the showerhead run at its total capacity. You can keep a bucket under the showerhead and save the water for later use as the water turns suitably warm for a shower. Additionally, ensure that you turn it off when putting on soap or shampooing.
You can also upgrade your bathroom with an eco shower, whose water flow is much lower than a usual showerhead. However, the pressure is sufficient to provide you with a comfortableshower experience. Plus, you won’t feel guilty afterwards.
4. Checking Toilets for Leaks
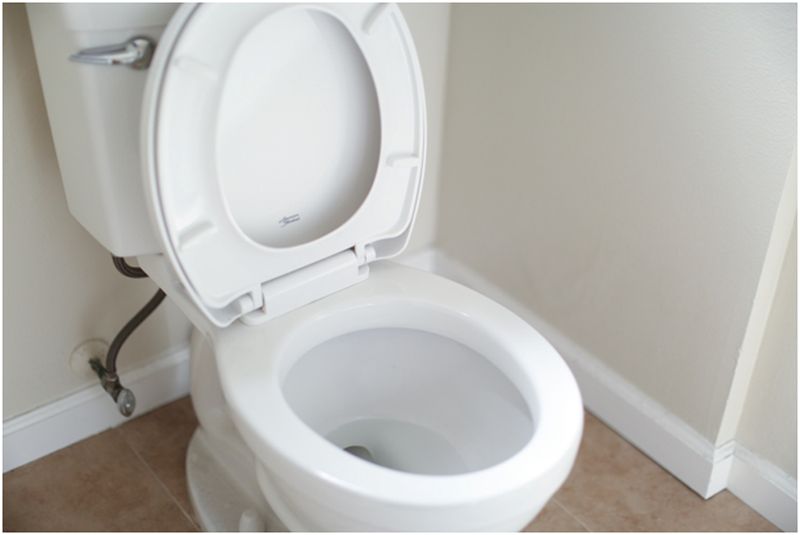
Some loose ends here and there sometimes lead to leaks, and you should address that immediately.
Here is a lesser-known fact: when a toilet is leaking clean water from its cistern, it can waste around 200 to 400 liters of water a day, which is more than 100 gallons. If you want to understand its depth, imagine water equal to five baths a day gone to utter waste.
However, if managed correctly, you can save a whole lot.
Solution:
If you can hear the sounds of water dripping before flushing or a mild noise of water dribbling at the back of the toilet pan, then it’s time to inspect the loo.
You need to wait for half an hour after rinsing the toilet to ensure that the flushed water has settled down. Then, use toilet tissue to wipe the pan to ensure it is dry before scrutinizing the leak.
Now, gently lay tissue paper against the back of the pan and leave it for a few hours without using the toilet. If the tissue paper is wet by the end, your loo is leaking.
Call a local plumber to sift out the leak and save water!
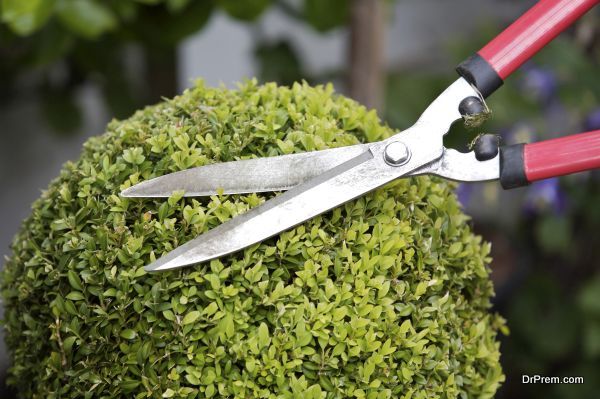
5. Save Rainwater
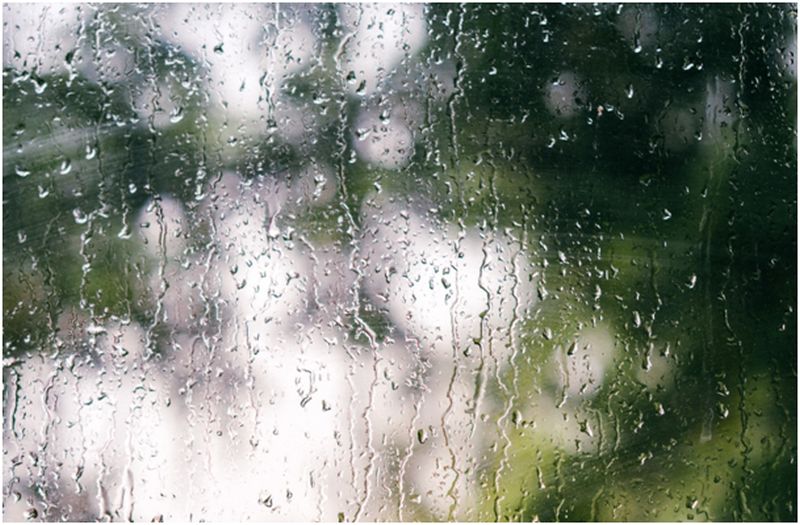
Rains are a blessing. Granted that rains are beautiful and should be enjoyed, no rules limit them. Not only is rainwater free, but it can also be stored and recycled in many ways, which can be used later for various reasons.
Water butts are an effective way of benefitting from rainy weather. They come in many sizes and materials and are designed to collect rainwater. You can conserve the water and use it consciously to maintain your garden!
These butts can store up to 100 gallons of water. As such, installing water butts can save up to 1,000-1,500 gallons of water a year. In addition, it can become a great and reliable source of water in the heat.
Solution:
Here is a simple method to install a water butt in your garden:
- Find an appropriate downpipe and keep the water butt stand below it.
- Secure the rainwater diverter fitting to the pipe.
- With the help of measuring tape, mark a spot 3 inches down from the top of the water butt and drill a hole there.
- Fasten the connector to the water butt by pressing it through the drilled hole.
- Finally, fit the water butt connector to the rainwater diverter with the given fittings.
In the end, make sure you are putting the lid back on to protect it from insects.